

Soil & Fertilizer
Soil & Fertilizer are some of our basic building blocks for plant care.
Our plants need nutrients in order to grow, and we provide those through fertilizers.
And plants need the right kind of soil in order to promote healthy roots so they can absorb those nutrients and the water they need.
On this page we will talk about some of the most effective fertilizers, some soil recipes I have found success with, and my recommended brands.
___________________________
Soil & Fertilizer

Soil
___________________________
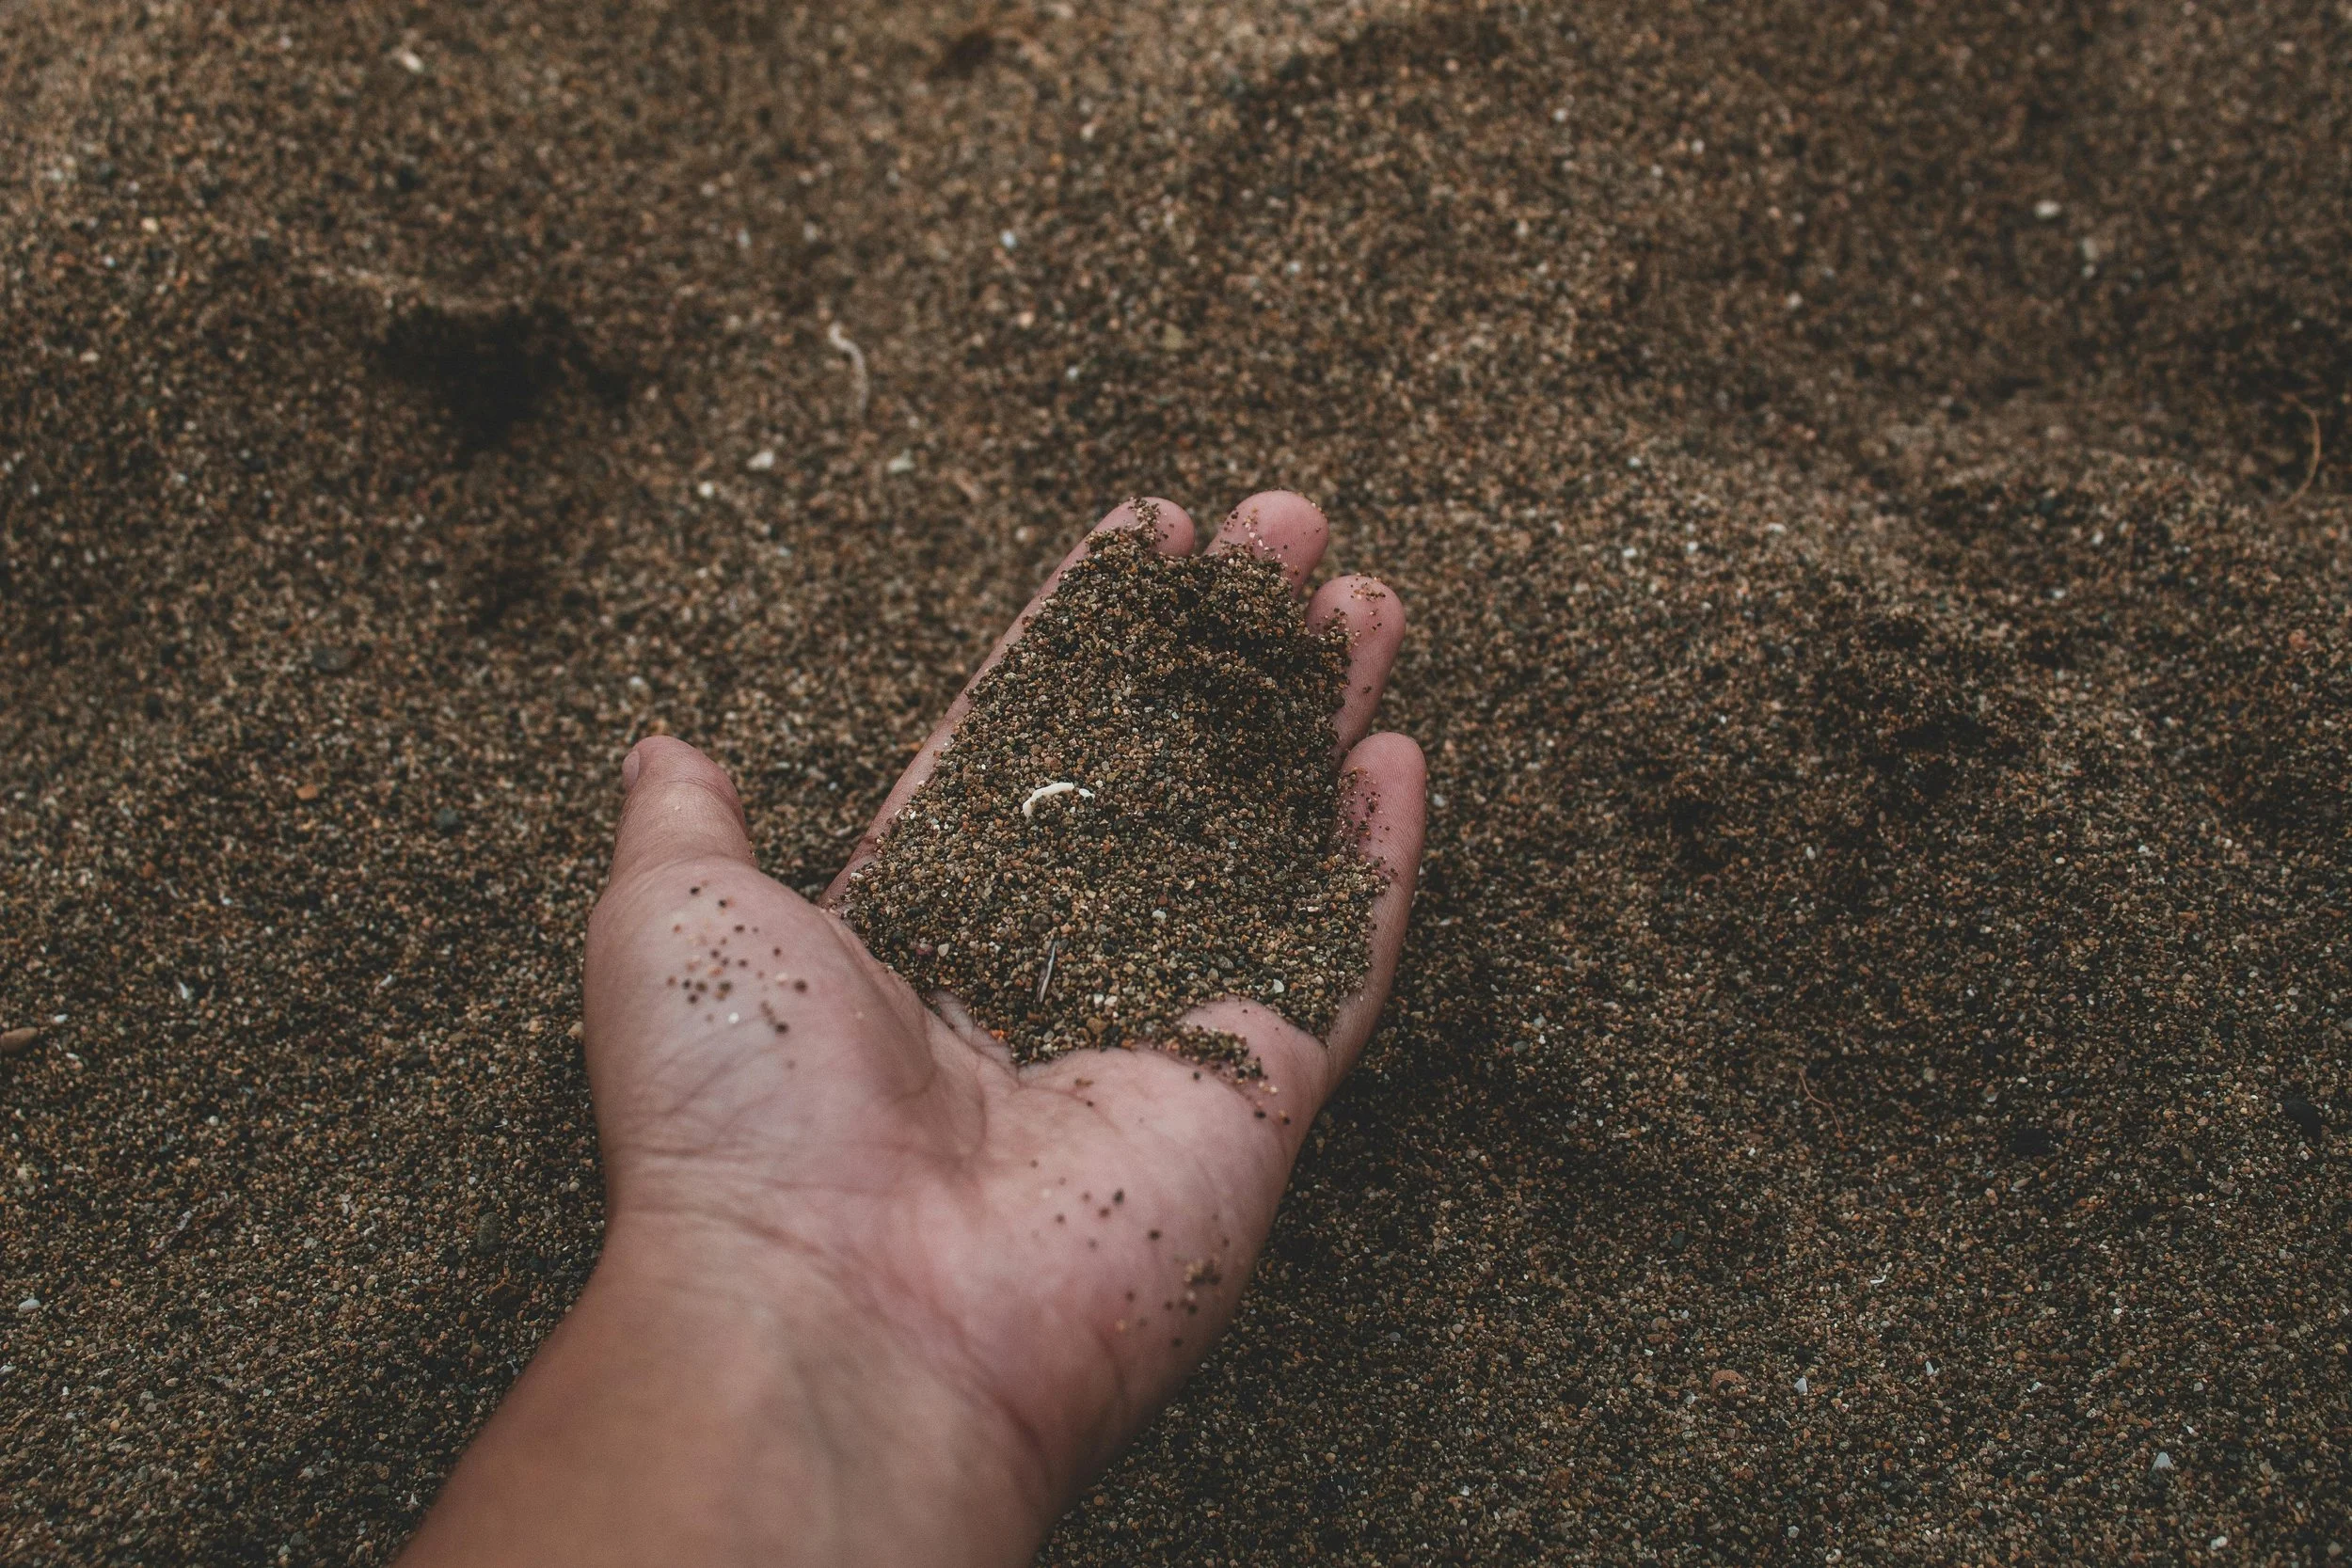
Most of our tropical plants are considered Aroids or Epiphytes, which means that, in the wild, they grow on trees or other high places and don’t usually have their roots directly in the soil.
One of the major signs that these plants are Aroids and Epiphytes is the appearance of what are called Aerial Roots, or air roots (as pictured in the image).
Because of this, we want to create a soil that isn’t too dense for our air loving roots, but will also hold enough moisture. In short, we want to mimic their jungle habitats as closely as possible.
To achieve this, I always recommend mixing different soil ingredients to get the perfect chunky mix that our plants will love!
I always start with a basic All-purpose soil Mix, then I mix in some more chunky materials like Cactus Mix, Bark, Coco Chips, Pumice, and Charcoal to break up the density and give the soil more air pockets.

Basic Soil
___________________________
I like to use a bit of potting soil in my mixes because of our dry climate. Though houseplants would probably prefer a more chunky Aroid Mix I have found that you need to water them twice as much in our dry conditions. So, I prefer to have some denser soil in there to hold more moisture and decrease how often I have to water. And my plants are still thriving because of it!
My favorite brand for the basic soil mixes is Black Gold. They have a great All-Purpose mix to use as your base, and their Cactus Mix is perfect for adding some chunkiness.
You can find this brand through Amazon, Ace Hardware, and even some of your local garden stores.
Chunkiness
___________________________
The rest of these soil ingredients are mostly used to add chunkiness to the mix, but they all have other added benefits, which I will list.
Note: You do not have to use all of these in your own mixes, but you should have something in their to break up that density and create those air pockets.
Pumice
Pumice or Perlite is the most common additive to soil mixes. Since it is a type of igneous rock, it has a lot of pores inside and is very light. So it can add a lot of air to your soil without creating a ton of weight.
I prefer to use Pumice over Perlite because Pumice is slightly heavier. When using Perlite, as you water your plants, it will gradually float to the surface over time because it is so light. Which basically leaves your soil as dense as it was before you mixed it, and that can be bad for the roots.
Pumice still does this a bit, but it is much less so, which is why I use it instead. I order mine in bulk on Amazon.

___________________________
Bark, Coco, & Charcoal
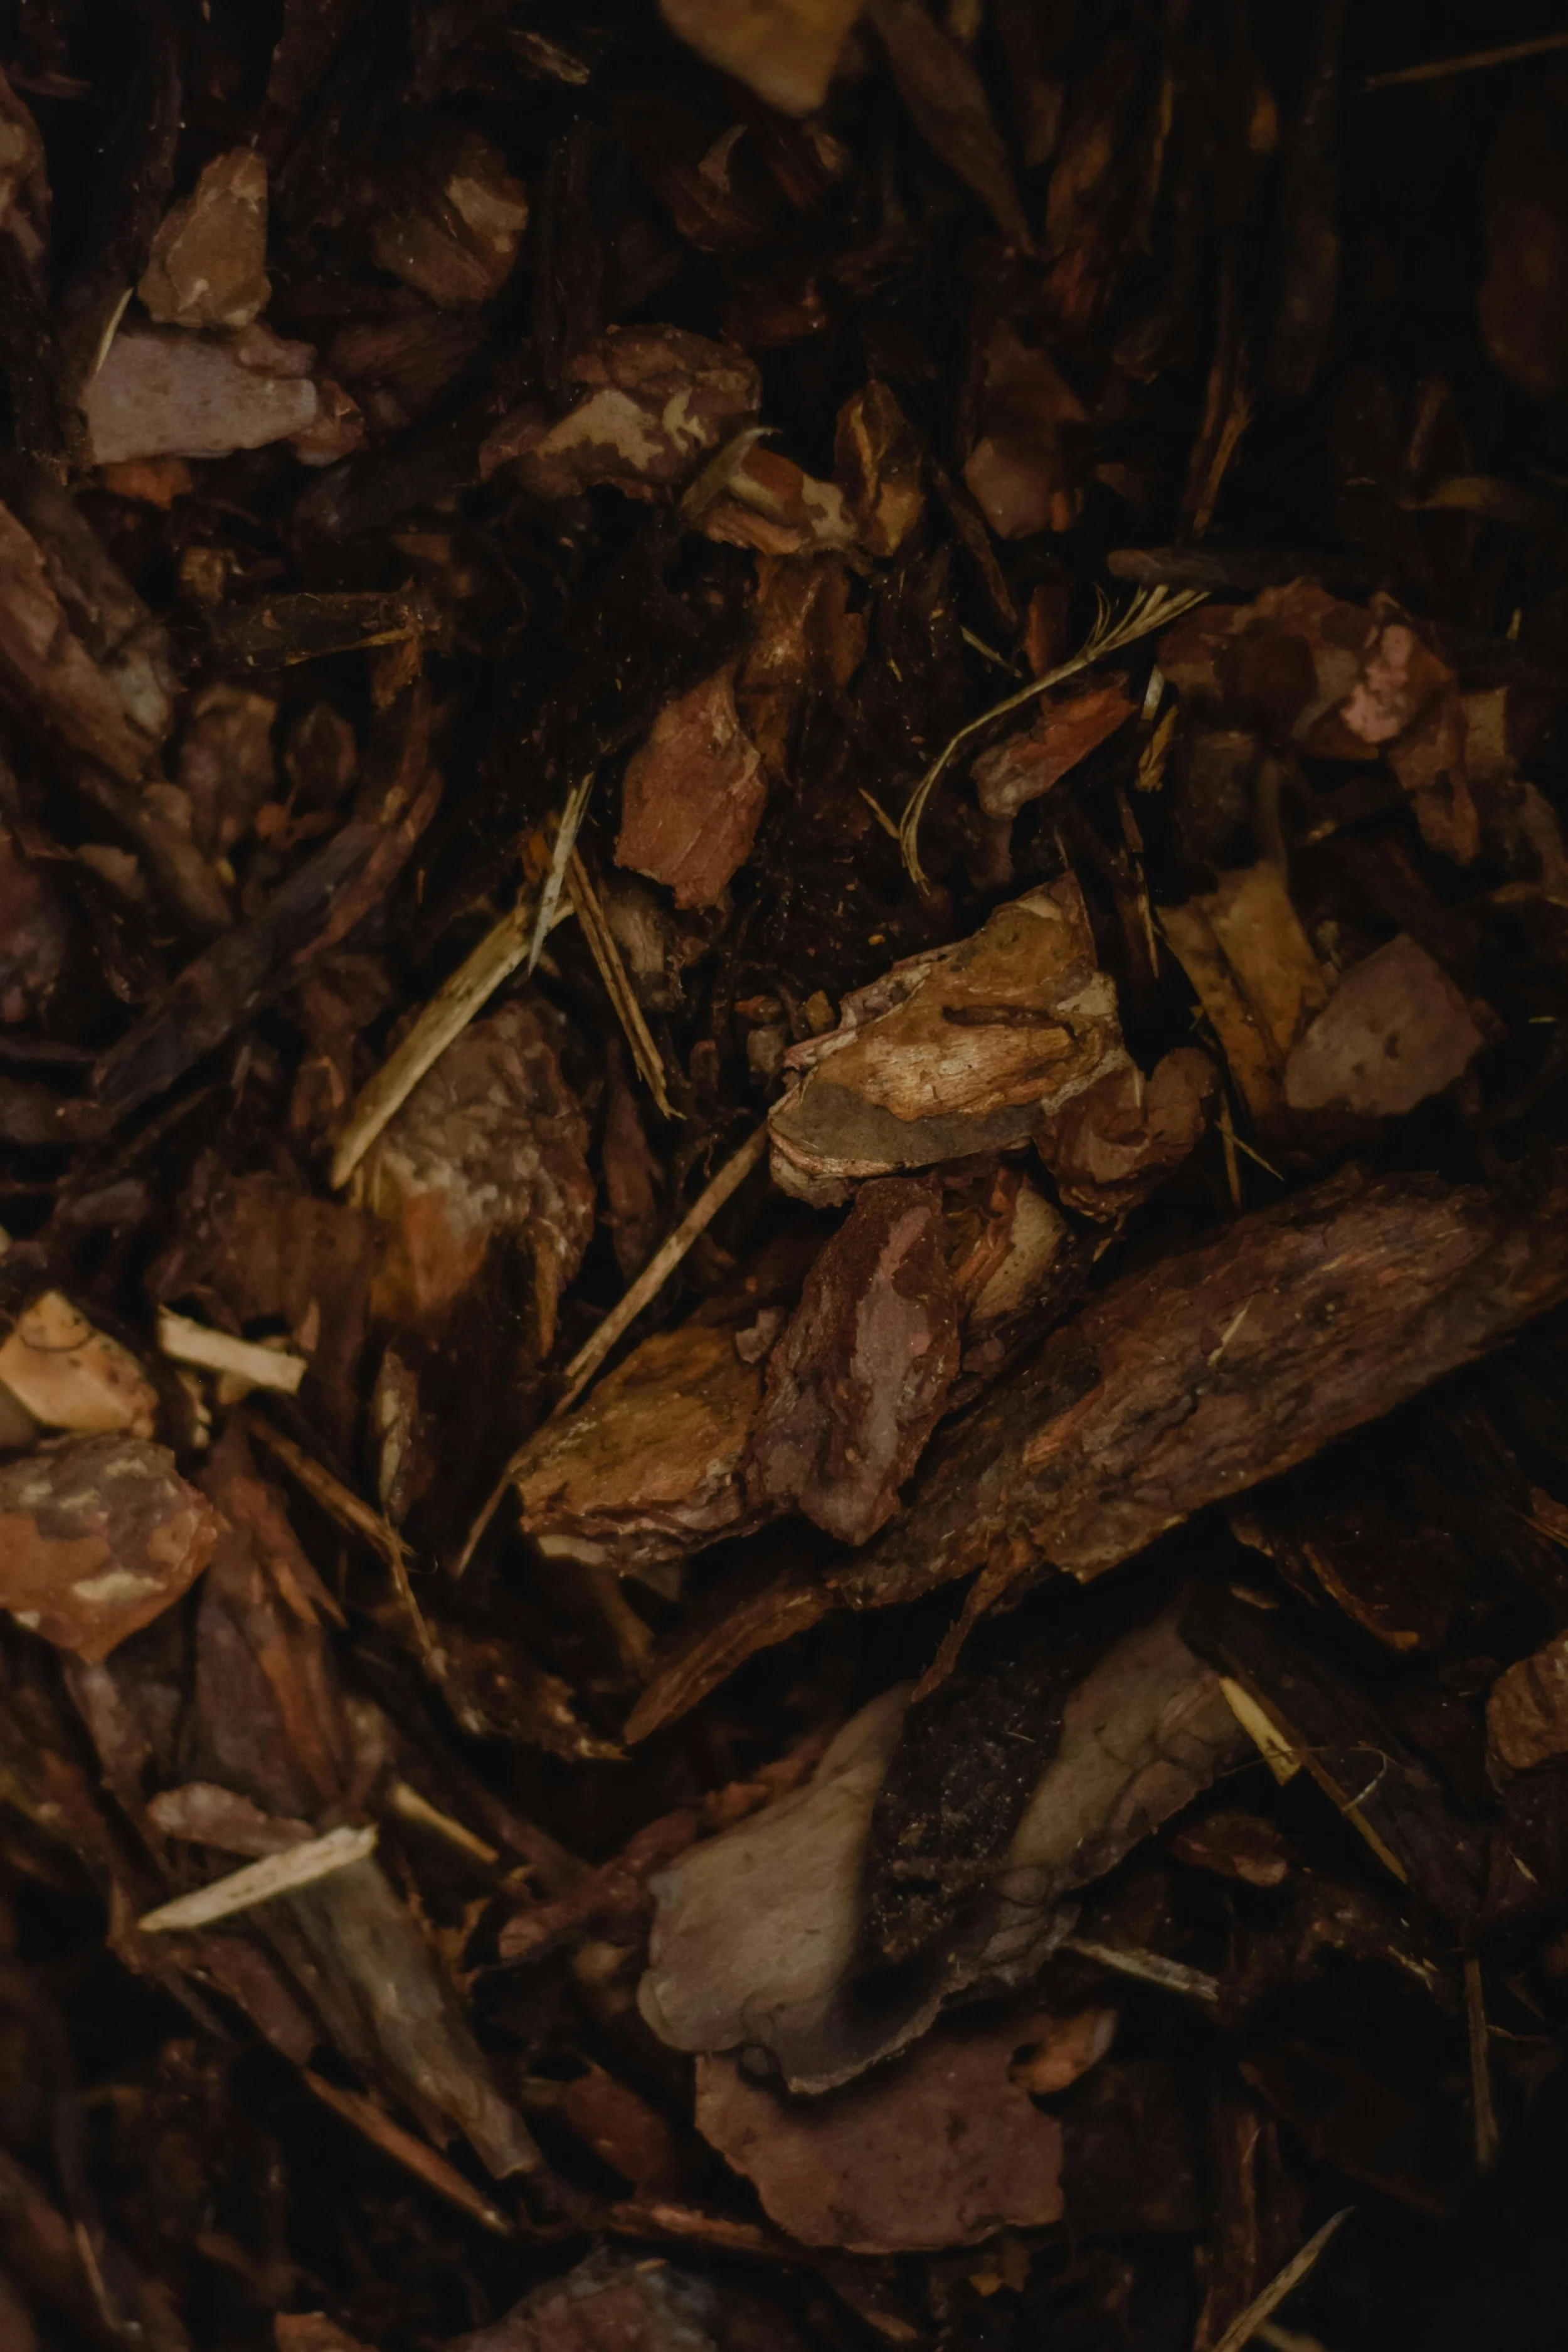
Bark
I add Bark to my soil because it comes in larger pieces, which breaks up the soil density with fewer scoops. It also retains moisture super well, which many of the other ingredients I will list do not.
When sourcing Bark I simply like to grab a bag of Bark Mulch from my local garden store during the summer. Depending on how many plants you are repotting, a good size bag should last at least a full year or longer.
Coco Chips
I add Coco Chips to my soil because they are pH neutral, retain moisture well, and break up the soil density nicely. You can order them in dehydrated bricks on Amazon for a good price. Just make sure to rehydrate them before adding them to your soil (I usually soak mine overnight).
Charcoal
I like to add Activated or Horticultural Charcoal to my mixes because it filters toxins out of the soil. Activated Charcoal is better at filtering, but it is more expensive, so I just use Horticultural Charcoal and it works just fine. You can purchase bags of this on Amazon.
Soil Recipe
___________________________
Here is the houseplant soil recipe I use when repotting my plants. I use a 4” nursery pot as my scoop, but the numbers will work the same if you use a different size as long as you are using the same scoop for everything.
Recipe:
15 part : Black Gold All-Purpose Mix
5 part : Black Gold Cactus Mix
5 part : Bark Mulch
3 part : Charcoal
3 part : Pumice
2 part : Coco Chips
1/2 part : Mosquito Bits
Note: I use Mosquito Bits in my soil to control Fungus Gnats. Check out my Fungus Gnat page for more info about this pest!
Other Note: You can still use this recipe for potting up Cacti and Succulents.

___________________________
Fertilizer
There are many Fertilizers out there made specifically for houseplants. Just like with pesticides, it is important to do your own research about the chemicals you use and find what works best for you.
To start, there are two different types of Fertilizers: Liquid (or Predissolved) & Dissolvable.
With Liquid fertilizers, you have to mix them in with your water every time that you water your plants. This is not easy to do when you are watering with a shower like me, so I don’t like to use these types.
However, some Liquid fertilizers I have tried and have had success with before I switched to shower watering are Fish Fertilizer & Liqui-Dirt, which you can find online or sometimes in your local garden stores.
As for Dissolvable fertilizers, there are quite a few options. You can use powders, granules, or even fertilizer sticks.
I personally like to use Osmocote All-Purpose Granules, which you can find on Amazon or at Walmart during the summer season.
They have a good mix of nutrients and you can easily pour them on top of your soil. As you water, the granule shell is broken down and it releases those nutrients. Not all the granules break at the same time, so it fertilizes your plants for the long run.
But, the disadvantage of these is they do eventually run out and you need to stay on top of readding them to the soil. I top my plants off every 4 - 6 months depending on the their size.
Here is the amount of granules I put in the different size pots:
1” = 1/8 tsp
2” = 1/4 tsp
3” = 1/2 tsp
4” = 1 tsp
6” = 2 tsp
8” = 1.5 tbsp
10” = 3 tbsp
10+ = enough for an even spattering of granules across the soil

Repotting
___________________________
When Repotting, make sure to mix your soil a head of time and have your fertilizer at the ready for afterward. This will keep you from running back and forth to get things. Your soil should be dry or only slightly damp when potting, as it is easier to work with and you will water in your plants afterward.
Note: I recommend repotting outside when possible because there is less clean up. But if you can’t because of temperature (see my Temp & Humidity page for more info on proper plant temperatures!), then just make sure to do it in an area of your home that is easy to clean like the kitchen or an area with wood or tile flooring.
When repotting, always repot your plant into a size that is only 1 - 2” bigger than it’s previous size. If you repot plants in too big of pots, they can easily become waterlogged and rot.

___________________________
How to Tell
How do you tell your plant is ready for a Repot? Well, there are a couple different ways!
If it is hard to squeeze your (plastic) pot and you can feel roots pushing back, it is definitely time to repot! Those roots have no where else to go and they are taking up as much space as they possibly can.
Another way to tell would be if your roots are starting to grow out the bottom of your pot. They have used up as much space as they can and are searching for other areas to get nutrients and water.
And sometimes they need to be repotted if you are having to water them a lot more frequently then you have been or than you think you should for a pot that size.
For example: I have a large cane begonia in an 8” pot. It sits in a downstairs, South window (which is more like an East window because it has a window well). It is needing water about every 4 - 5 days, which a lot for a plant that size in an area of lower light. So, it probably needs a repot soon.
Note: This last scenario does not always mean it needs a repot. You could just be watering it more frequently because of the particular soil mixture in that specific pot. But you can always pull the plant out and check. If it has a ton of roots and looks like its outgrowing its pot, then go ahead and repot it. If not, then you can keep it as is.

How to Pot
___________________________
Now that you know how to tell when a plant is ready to Repot, lets talk about how to Repot!
To Repot, take your plant and squeeze the side of its pot if you can. This will loosen up the root ball and prevent as much root shock as possible. Plus, it is just easier to get out this way. If you cannot squeeze the plant, then use a chopstick or stick like tool to poke around the edge of the pot and push the root ball away from the sides.
Note: I recommend repotting into nursery pots because it is easier to get your plants out of the soil when you need to repot again. Then I just place the plants into decorative cover pots to keep the ugly nursery ones out of sight.
After your plant is out of its previous pot, you can replant into the bigger size by placing some soil at the bottom, placing the root ball on top, and filling in with soil around the sides. Make sure that the top of your soil is level with same top soil as the root ball.
Note: Make sure there are no holes in your soil, as these will collapse when watering and cause your soil to become dense and suffocate your roots.
Other Note: If your roots are circling at the bottom of the root ball, you can loosen them with your fingers to create better growth before placing in the new pot. Just be careful not to break them.
After you repot, add fertilizer to the top of your soil (refer to the granular size chart 3 sections back). Then, water your plant to make sure it gets a good start it its new home! Then you are all set!

Note: If you do not want repot into a bigger size, but your plant is ready to be repotted, you can take the plant out and cut back the roots. This will keep it from getting root bound but let you keep it in the same pot.
But only cut back a max of 1/2 of the root system. And be aware that this may send you plant into root shock as they grow back. So make sure to keep an extra close eye on any of these plants for the first while afterward.
For more Basic Tips
Head back to my General Care Page!