
Propagation
___________________________
Propagation
Propagating plants is the cheapest way to increase your collection. And you can share you beloved plants with your friends and family to spread the love!
Luckily, many of our indoor plants are super easy to propagate!
On this page, I will discuss the different types of cuttings used and the most common propagating methods along with their pros and cons.
Follow along and you’ll have tons of new plants in no time!

Types of Cuttings
Cutting Types
___________________________
There are 3 main types of cuttings that you can take to propagate your indoor plants: Leaf Cuttings, Leaf Petiole Cuttings, and Stem Cuttings.
In these next sections, I will teach how to take these cuttings and which plants work best with each type.
Note: You can also visit my Plant Library to see which propagation methods work best for specific plants.
Important Note: Make sure when taking any type of cuttings to keep them oriented right. You want to plant them right-side-up other wise they won’t grow. If you aren’t sure which is the up side, you can always plant them sideways.

Leaf Cuttings
___________________________
Leaf Cuttings are when just the leaf of the plant is taken and used for propagation.
The only indoor plants that this type works for are succulents.
To take a Leaf Cuttings from a succulent:
Locate a nice, healthy leaf of decent size.
Find where that leaf meets the stem of the plant.
Gently twist and pull the leaf off the stem.
Make sure to keep the nub where it attached to the stem intact! If that part is damaged, your leaf will not sprout any roots or grow a new plant.

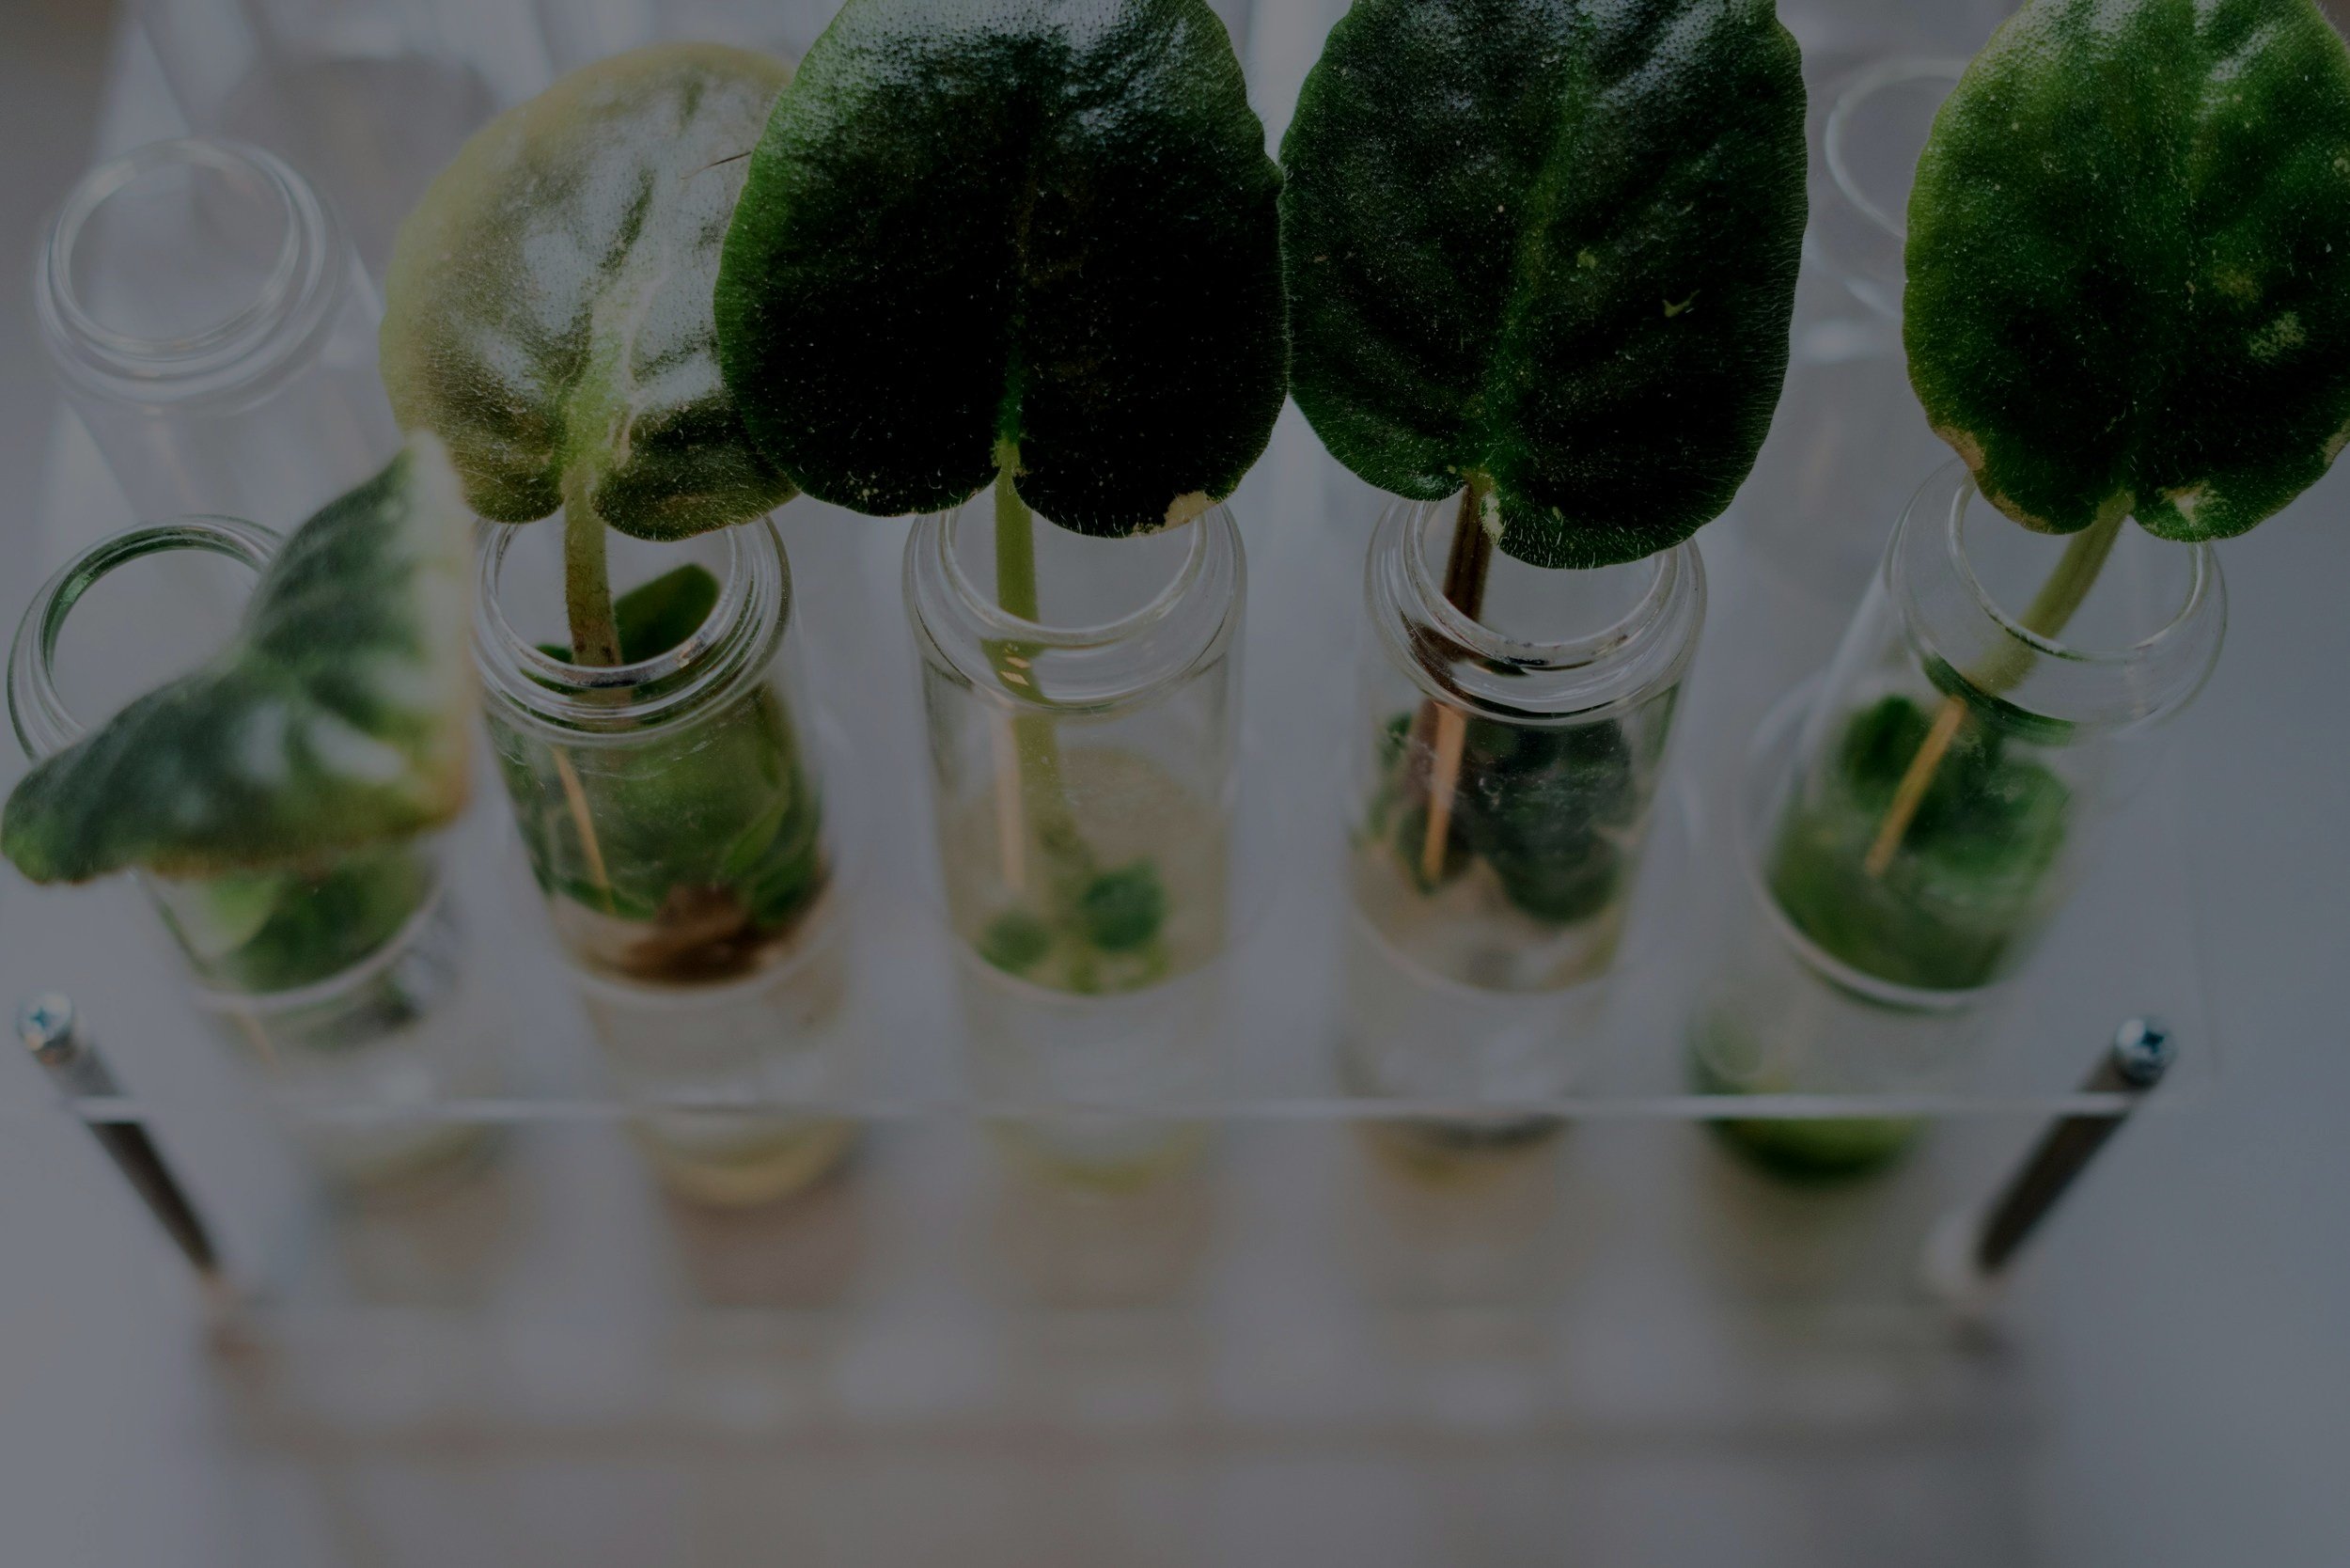
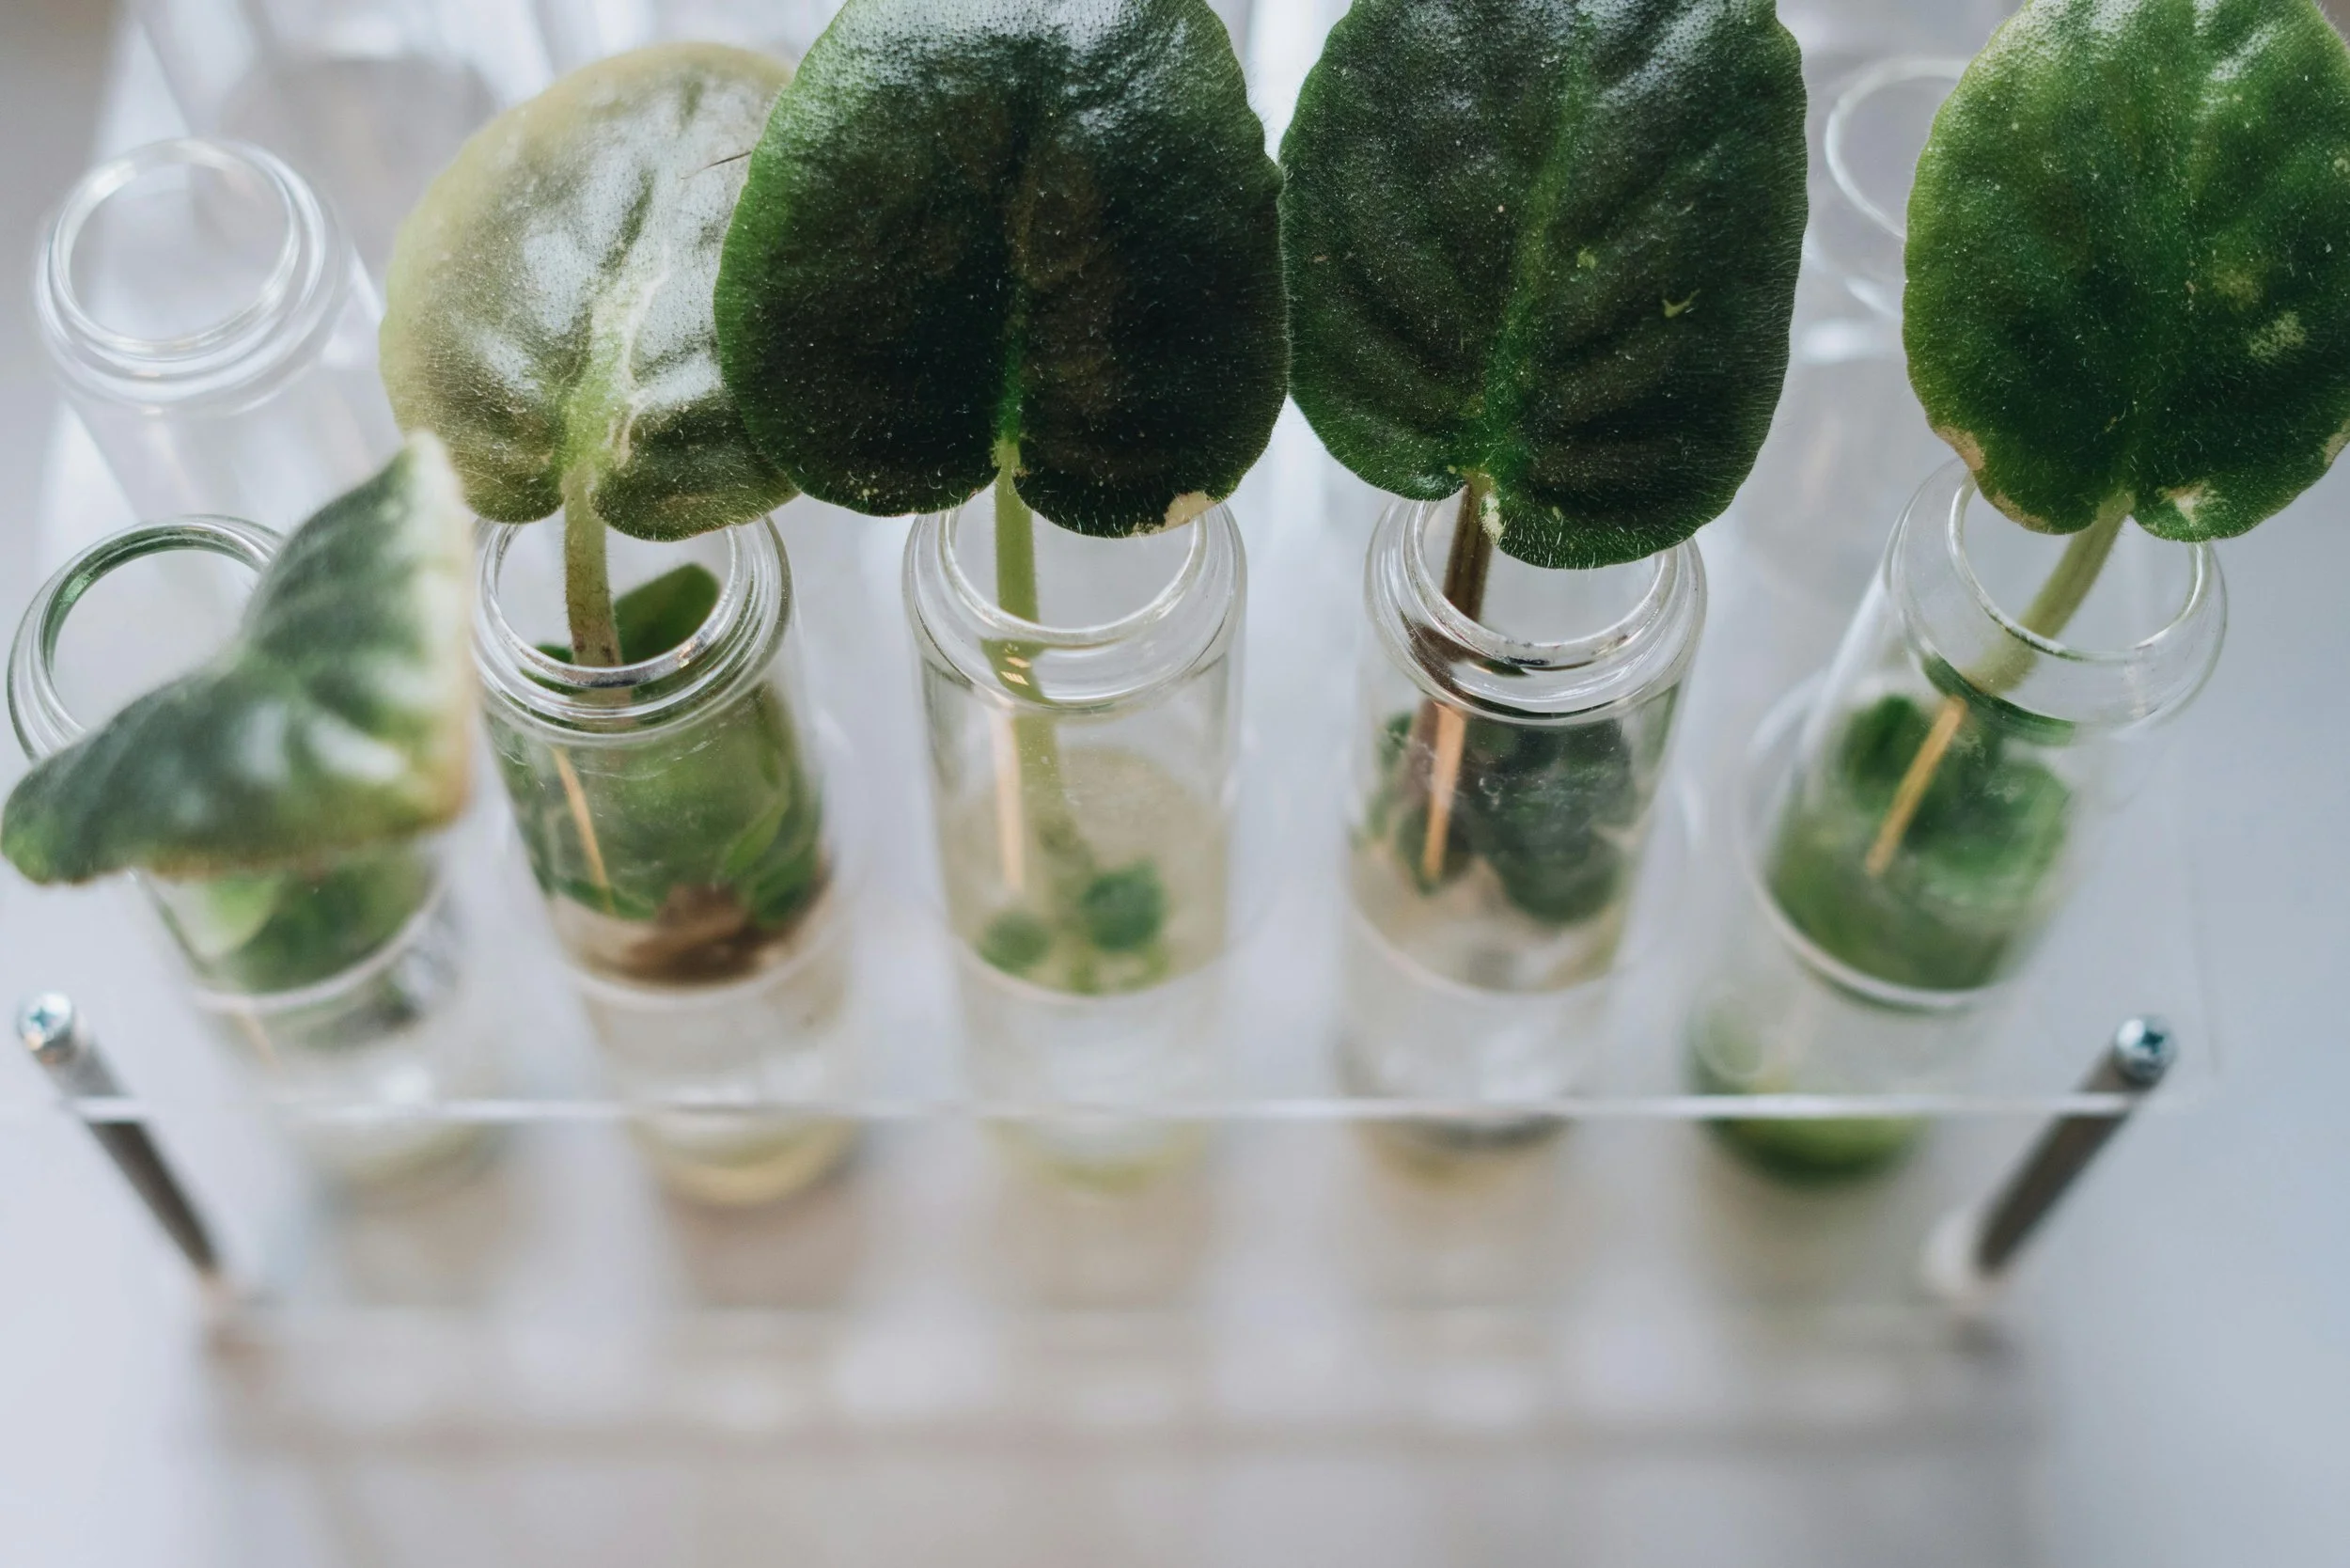
Leaf Petiole Cuttings
___________________________
Leaf Petiole Cuttings are where you take both the leaf and the leaf stem (petiole) and use them for propagation.
The only plants that use this type of cutting are Begonia-like Peperomias (Peperomia caperata) and African Violets.
To take Leaf Petiole Cuttings:
Locate a nice, healthy leaf of decent size.
Cut the leaf stem (petiole) of that leaf leaving at least 1” of the petiole.
Note: You can cut this all the way back to where it joins the stem of the plant if you do not like to leave the extra bit of petiole.
Make sure the petiole is intact and healthy as well. The petiole is where the new roots and plant will grow, so if it is damaged it will not propagate.

___________________________
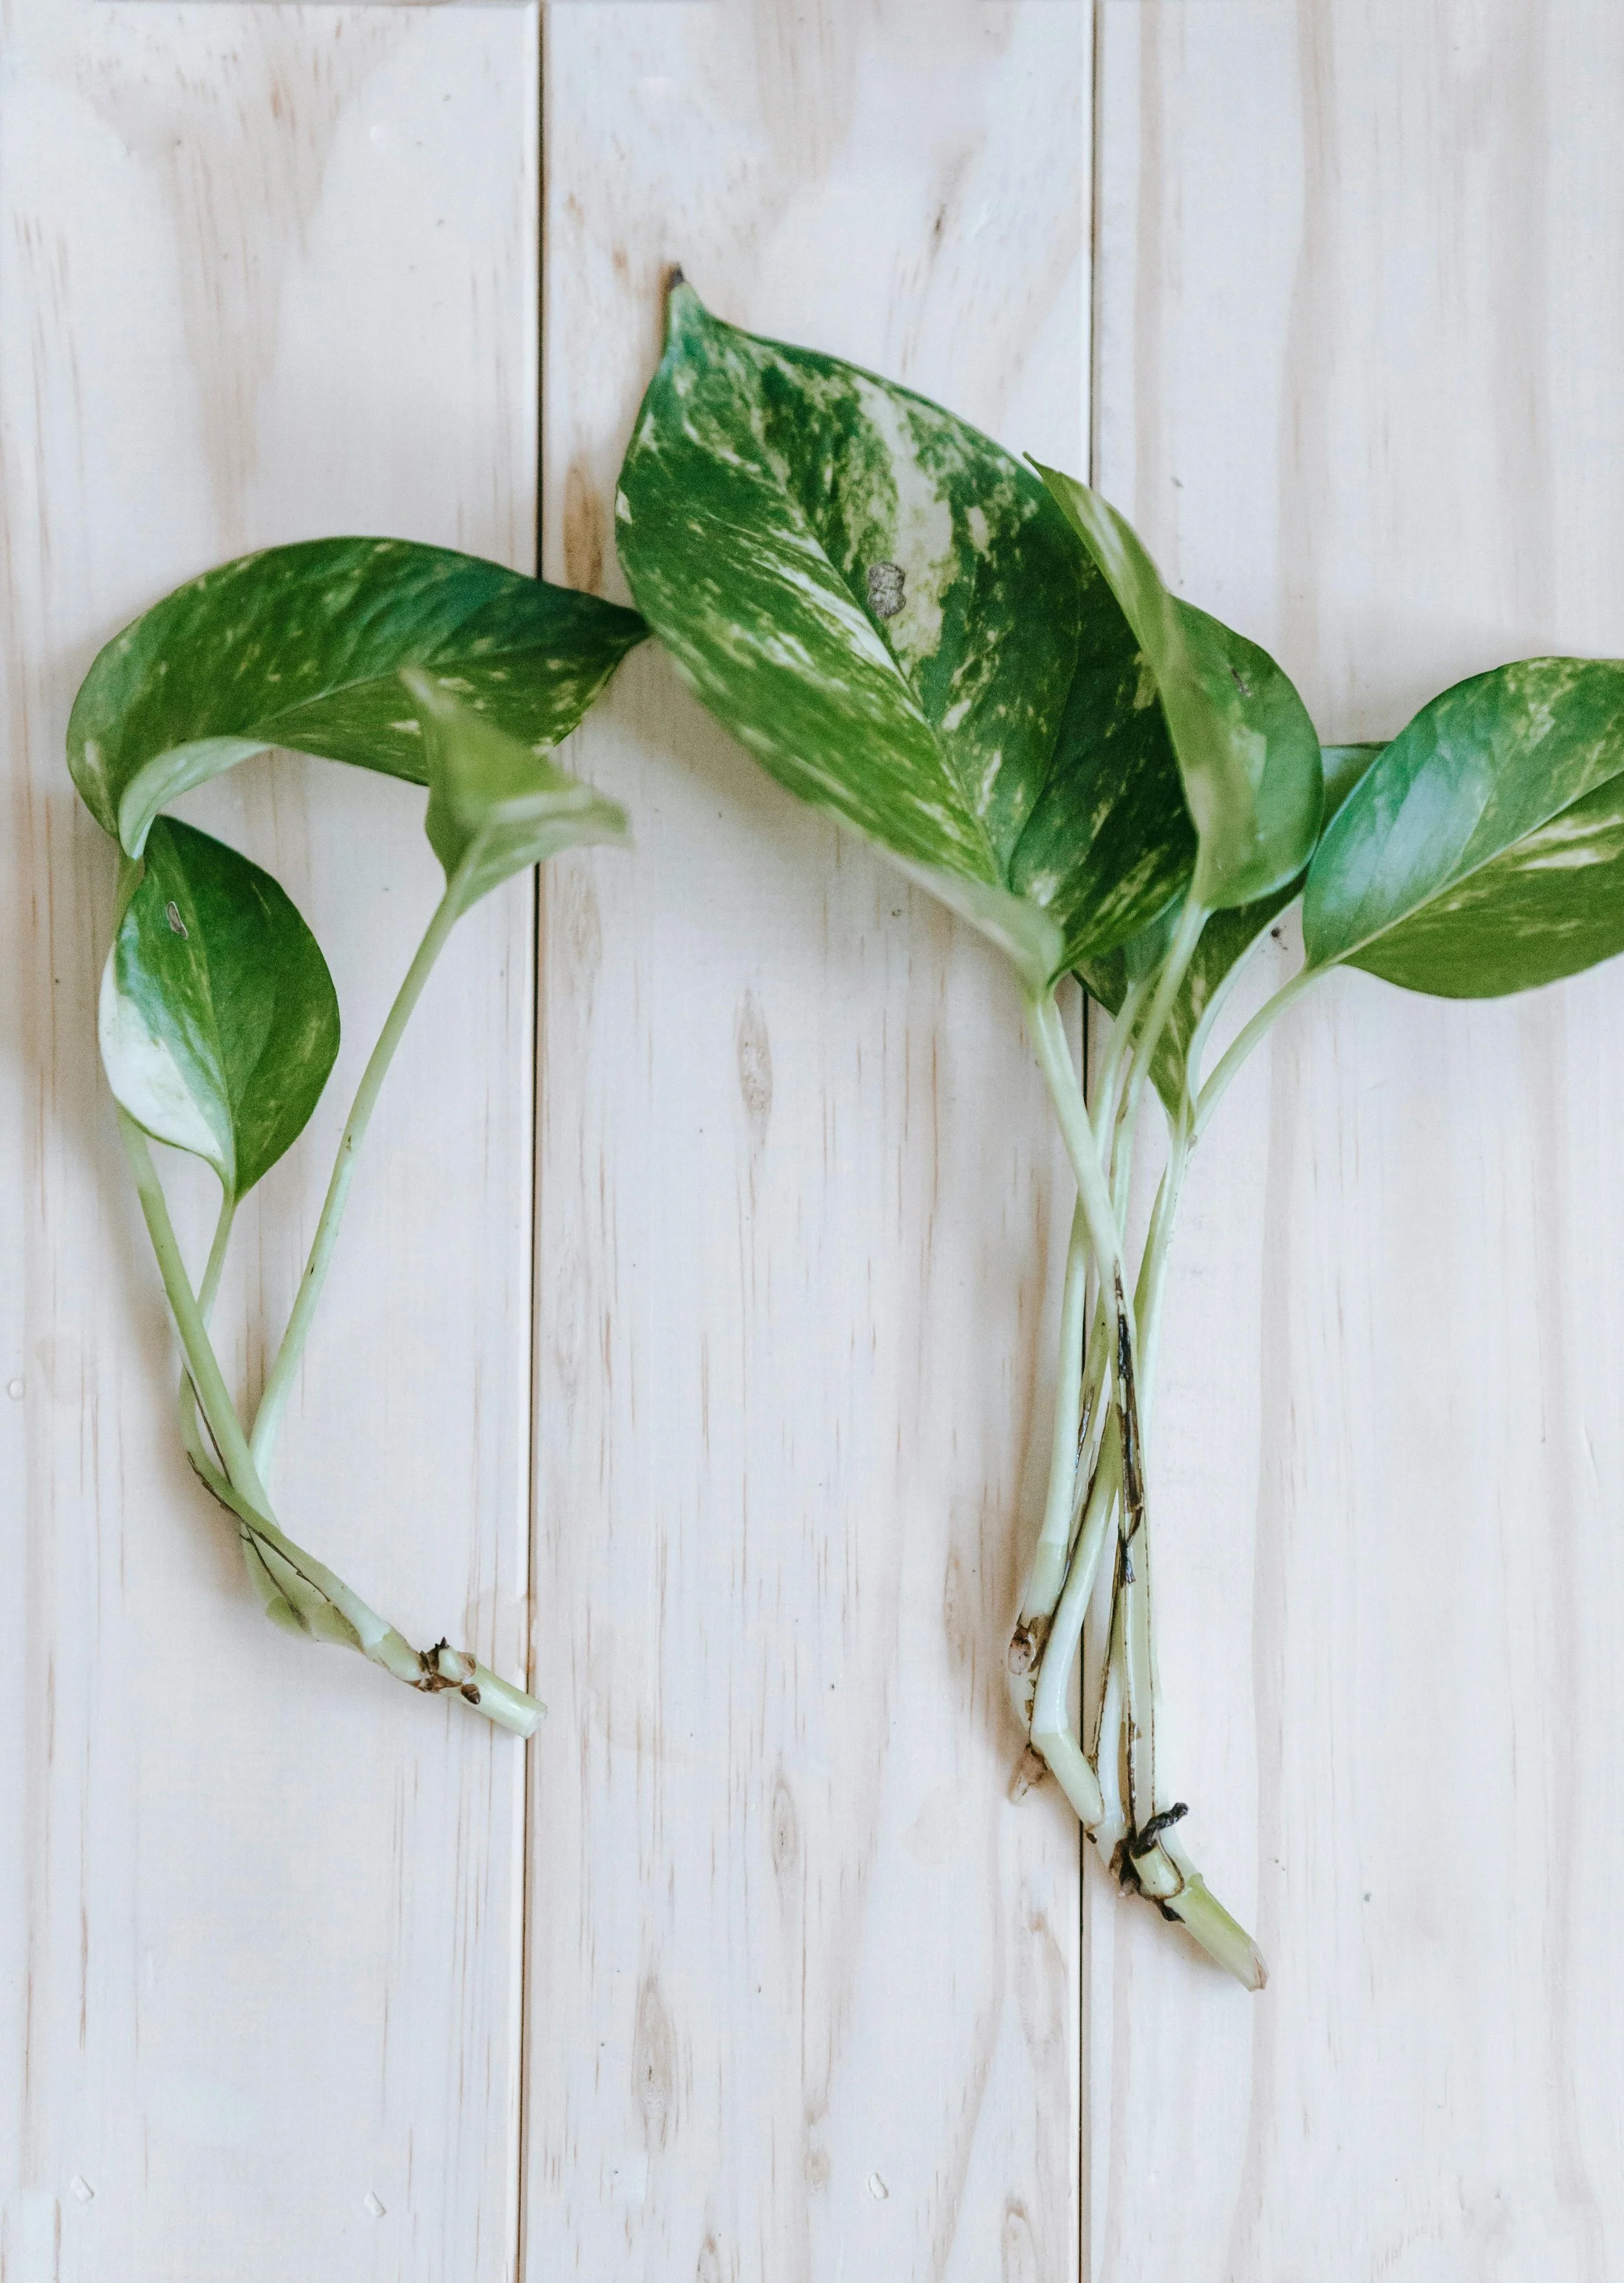
Stem Cuttings
Stem Cuttings are the most common type of cutting and work for pretty much every other type of plant.
Stem Cuttings involve cutting the stem around a healthy growth point, or Node, and using that for propagation. This can be done with or without a leaf attached.
To take Stem Cuttings:
Locate a healthy Node on your stem.
A Node is the growth point of your stem. It is the bulging spot on the stem where your leaves meet the stem. You can often see little stem (axillary) or aerial root buds coming from these spots as well.
Cut the stem around this Node leaving at least 1” of stem on each side.
Note: You can choose to keep or discard the leaf(s) attached to this Node. I always keep at least one leaf attached so the Node can still photosynthesize. This will speed up the growth process.
Make sure that your Node is intact and healthy. This will be where all your new growth comes from, so if it is damaged, it will not propagate.
Propagation Methods
Propagation Methods
___________________________
There are 2 main propagation methods use for plant cuttings: Water or Substrate propagation.
Each of these can be broken down further into several sub methods. I will go over all of these and discuss some of the pros and cons of each method overall in the following sections.

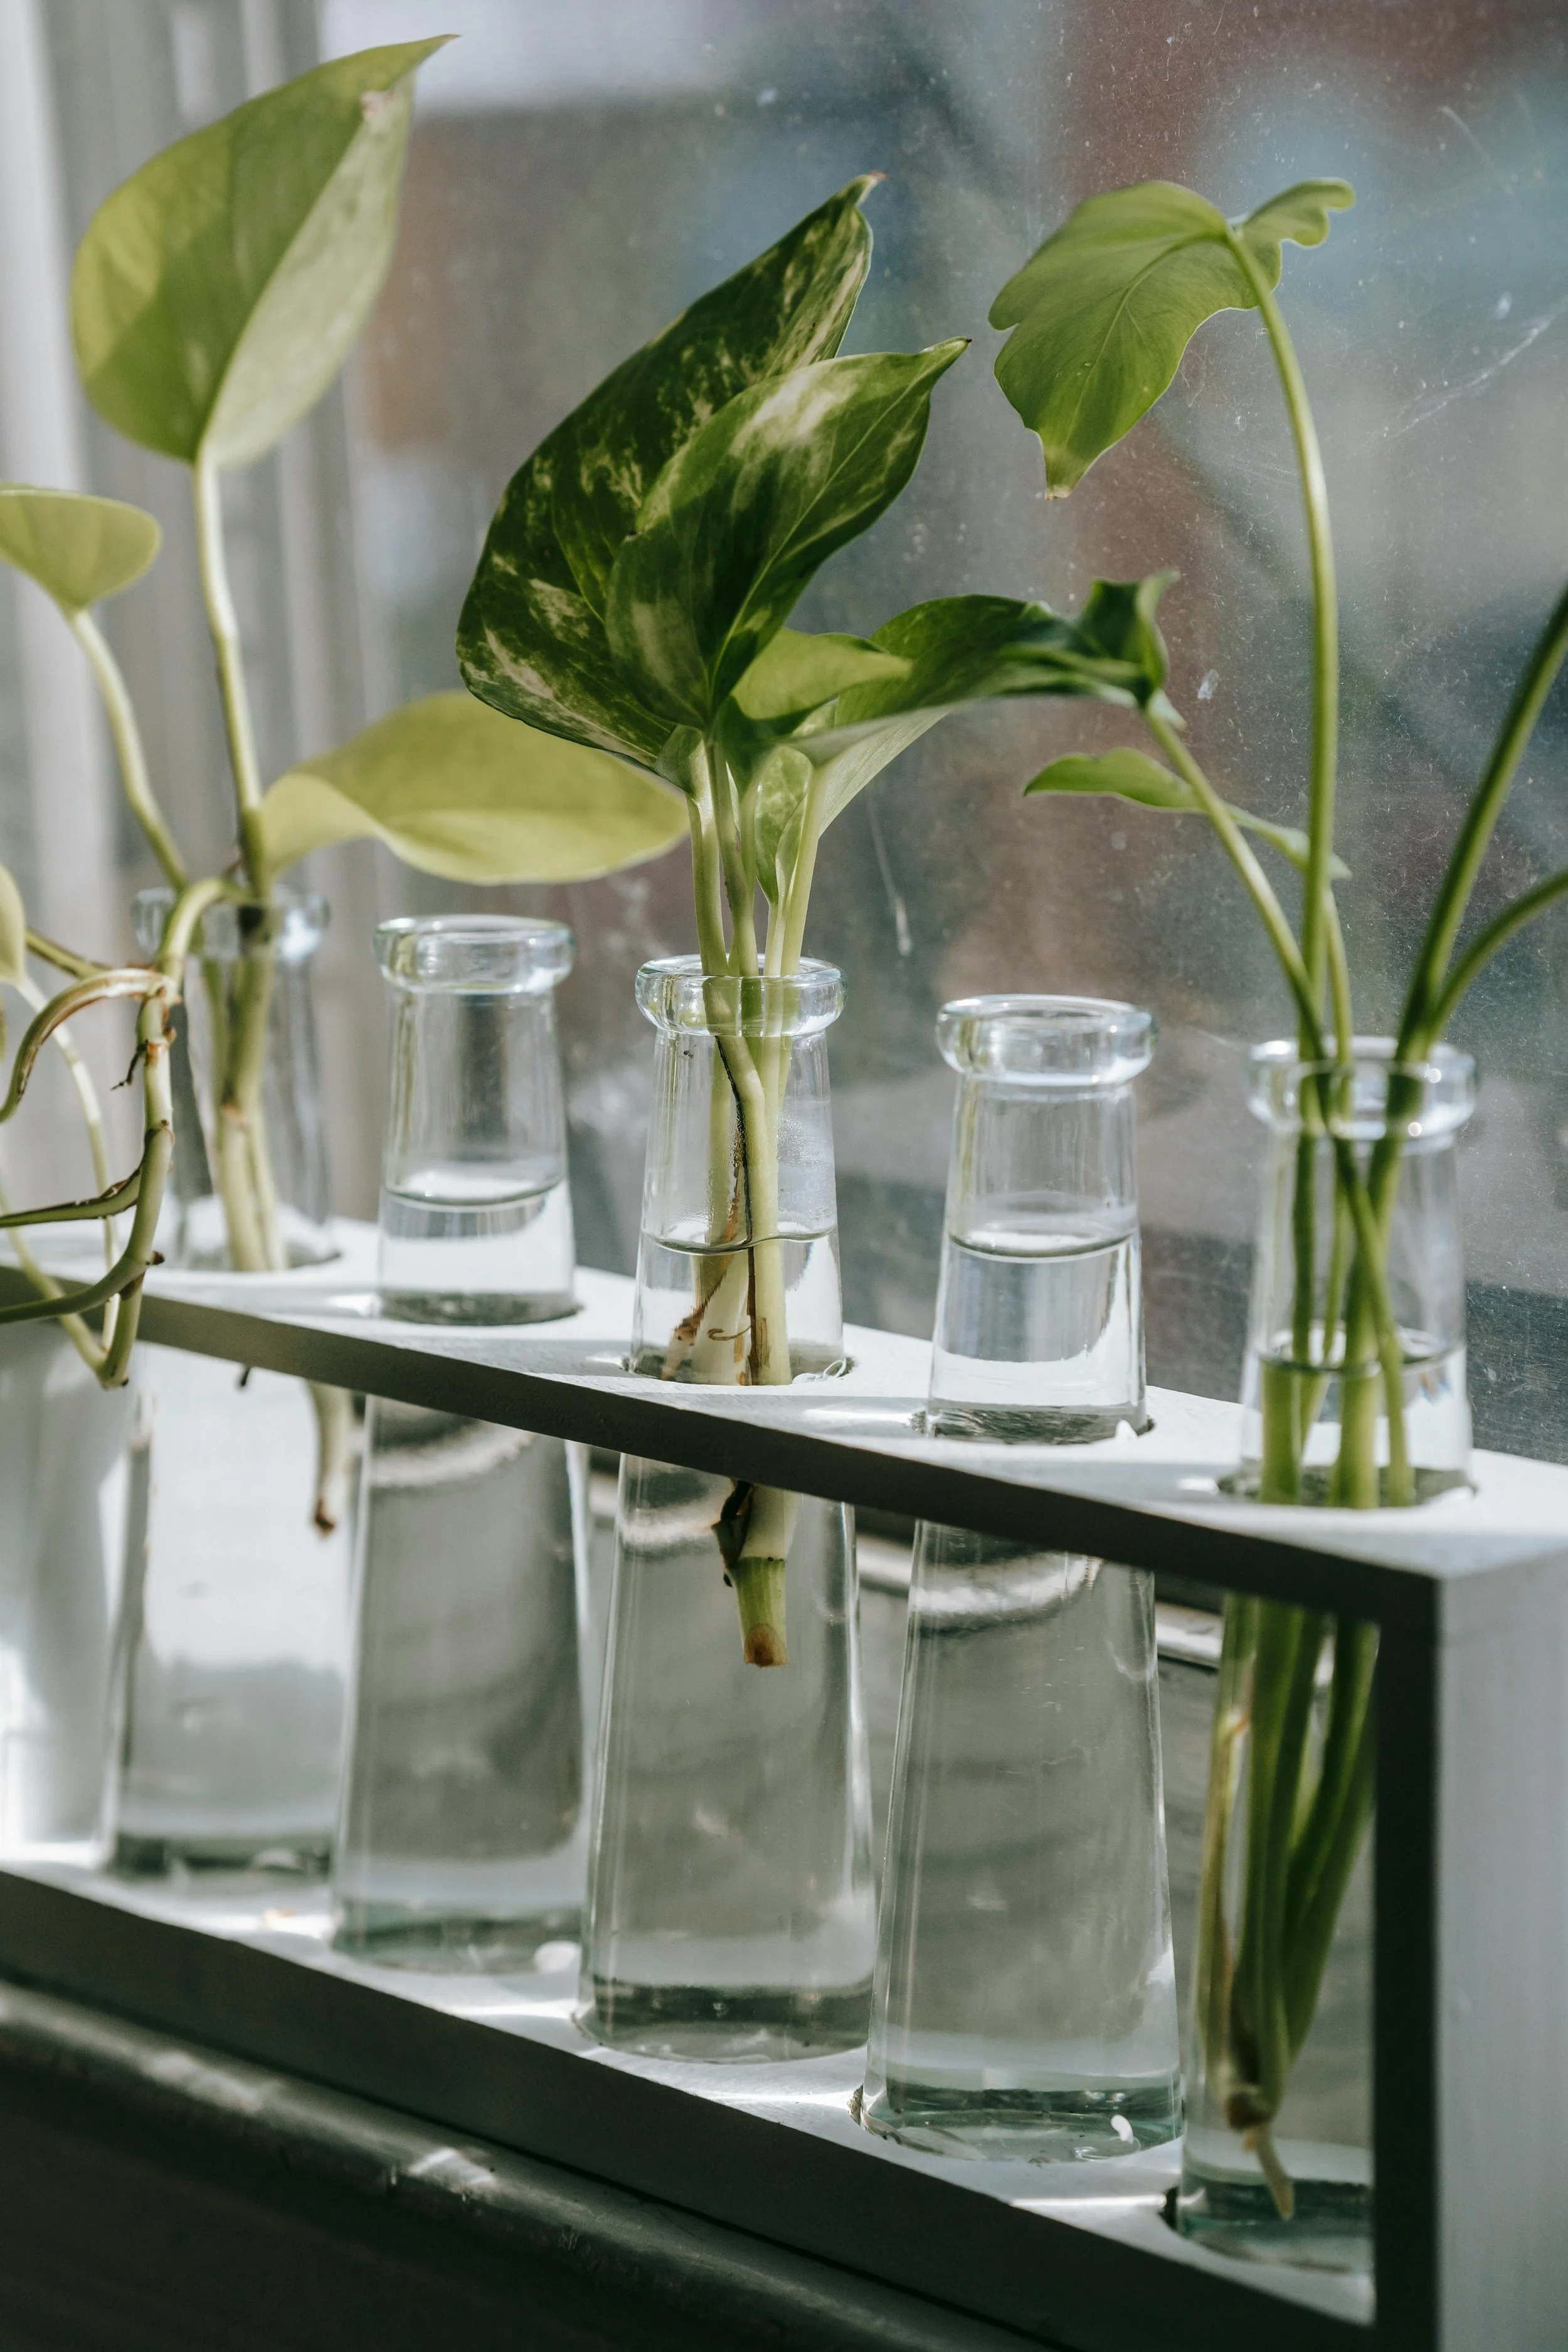
___________________________
Water Propagation
Water Propagation is the most common form of propagation, but it is also the most misunderstood.
The most common Sub Methods for Water Propagating use the simple Water in a Jar, Leca Balls, or Stratum.
Propagating with water is as simple as it sounds. You simply take your cuttings and put them in water and wait for roots to grow.
However, the difficulty lies in the type of roots that this environment encourages. The new roots that grow will be Water Roots (roots that are meant for near 100% water content) not Soil Roots (roots that are meant for a natural wet/dry cycle).
So, if you plan to transfer them back into soil, they will go into to Root Shock while they regrow new Soil Roots instead of their Water Roots.
The best way to combat this is to leave the cuttings in the water just long enough for them to start developing little root nubs, but not long enough for the roots to fully develop.
Basically you can use Water Propagating as a way to jumpstart the root system, but you should not use it to fully develop those roots.
Note: If you are planning on leaving the plants in water for the rest of their lives, then you do not have to worry about this as Water Roots will be more beneficial to them.
Rot & Algae
___________________________
Another issue with Water Props is that the lack of a wet/dry cycle can be overwhelming for some plants and the excess moisture can quickly lead to rot. Some plants simply do not do well with water propagating (Succulents and Cacti for example).
The best way to combat this is to give your cuttings a bit of time to harden off before sticking them into water. I would recommend waiting at least 20 minutes, but no more than 1 hour.
Another problem is that you now have unfiltered, standing water, which will promote the growth of Algae. While this won’t cause too many problems for your cuttings at first, if left to grow, it can eventually overcome them and steal all their resources.
The green sliminess is also rather unsightly and can be gross to deal with.
To combat this, make sure to change out the prop water every other day.

___________________________
Pros and Cons
Here are some overall Pros and Cons for Water Propagating:
Pros:
Simple
Materials are easily accessible
Cons:
Develop Water Roots
Root Shock when transferred to soil
More chance that cuttings will rot
Can promote Algae growth
Need to keep on top of changing water
Substrate Propagation
___________________________
Substrate Propagation is also common, but not as common as Water Props because it requires a bit more prep time and materials.
This type of Prop is characterized by using some kind of soil-like media to root your cuttings in.
The most common substrate mediums are soil and sphagnum moss. Stratum can also be considered a Substrate Prop method if it is allowed to dry out a bit.
Prop Boxes are also part of this category.

___________________________
Humidity
The key difference between Water Props and Substrate Props is humidity.
With Water Props, the cuttings are surrounded by Water and will not dry out.
With Substrate Props, they will dry out. So it is important to give them ample humidity to prevent them from drying out too much and shocking the developing roots.
If you give these props enough humidity, you won’t even have to water them for the first while because they will create their own wet/dry cycle without any extra input.

Materials
___________________________
To start Substrate Props, you will need:
Substrate Media: such as soil or moss
Container: such as a pot or tray
Humidity Device: such as Ziplocs or a dome
Rooting Hormone: This is optional, but will boost rooting time. See my note below.
Note: When using Rooting Hormone for Houseplants you should only use one with .1% Butyric Acid. If it is more than that, it will burn the soft tissues of your plants.
I use Hormodin 1 - which you can find on Amazon - for a bulk rooting Hormone, or Garden Safe Take Root - which you can find at Walmart during the summer season - for small scale propagations.

___________________________
Procedure
These are the steps I take when planting my Soil Props:
Begin by filling your container with your soil media.
If using Rooting Hormone, dip cuttings into a bit of water and then into your rooting hormone. The water helps the hormone stick to the plant.
Plant the cuttings in your soil media. You can use a chopstick or such item to poke a hole in the soil before inserting the cutting. This will help keep the hormone from being rubbed off your plant.
Once all cuttings are planted, water them in. Make sure your media is fully saturated and there is even some water on your leaves.
Note: Check out my Watering Page for more watering tips!
Place your humidity device around the cuttings. If you are doing just a few pots, you can place them each inside Ziploc bags and seal them. If you are using a seed tray, you can use a humidity dome to cover the top.
Leave them to root. You can check on them every once in a while if you’d like to see how they are coming, but don’t disturb the roots.
When they are rooted, you can remove the humidity device, add some fertilizer, and let them grow into new, baby plants!
Note: You can tell your plants are rooted without digging them up by gently tugging on them. If they resist and don’t come out of the soil, they are rooted. If they seem to slide right out, they are not rooted yet and need a bit more time.
Serious Note: Remember humidity is important for these cuttings! Make sure the environment is staying humid. If you don’t see condensation at least in the morning and evening, you may need to supplement humidity by spraying them with a spray bottle and replacing the humidity device.

Time Frame
___________________________
I grow most of my cuttings in seed trays, with a humidity dome, under grow lights giving off Medium Light, and I do not disturb them while they are rooting.
Most cuttings in this environment take about 2 - 4 weeks to root, and another 2 - 4 weeks outside of the humidity, with slow-release fertilizer and under careful supervision, to really establish as new plants.

___________________________
Pros and Cons
Here are some overall Pros and Cons for Substrate Propagating:
Pros:
Very little to no Root Shock
If Humidity is done right, less need to check them
Less transfer steps
Less likely to rot
Cons:
Requires more Materials
Longer prep time
Can increase Fungus Gnat populations due to consistent soil moisture

Other Methods
Other Propagation Methods
___________________________
There are a few other ways to propagate houseplants that are less common. These are: Pups, Corms, and Seeds.
I will briefly touch on each of these and the best methods for propagating each way in these next few sections.

___________________________
Pups
Pups are basically side shoots from your main plant. Not all houseplants have pups, but usually if there is one central stem, they may grow Pups.
These count as Stem Cuttings. To take these, simply cut the stem that joins the Pup to the Mother Plant. Then you can propagate it using either Propagation Method.

Corms
___________________________
Some plants - mostly Alocasias in the Houseplant world - produce what are called Corms, or bulbs.
You can separate these Corms from the Mother Plant and propagate them like you would other bulbs.
These cuttings will only work with Substrate Propagation. They will rot in Water Propagation.
Note: Make sure you have the Corm right-side-up. If it is upside-down, it won’t grow!

___________________________
Seeds
Propagating by Seed is the least common for Houseplants as the seeds are very hard to get and the hardest to propagate.
The plants have to be properly pollinated and the seeds then collected and stored carefully. Then they have to be grown in near perfect conditions to even have a chance of producing a new plant. Many of these steps simply don’t work out indoors as precisely as the plants need.
But if you do manage to get some Houseplant seed, use the Substrate Propagation method to grow them. They will rot in Water Propagation.
Seeds are very, VERY sensitive. They have all the nutrients they need to start their growth stored inside the seed. But if anything goes wrong within those first stages of growth, they will not be able to collect more resources and they will die very quickly.
The most important things for germinating (“hatching”) seeds are water and temperature. They need to stay moist and at the perfect temperature (70-75 degrees F for Houseplants) in order to grow, so using a humidity device is a must.
Some seeds will not germinate without light, so make sure to do your research on the different seeds you have and how best to plant them. You can also perform your own experiments to find what works best for you.
Seeds are a wonderful way to create your own Hybrid plants and make something completely new!
Important Note: Things like variegation mutations will not be present in seeds. Variegation is a random gene mutation in the leaves of the plant, and will not be passed on to offspring. If you want to maintain Variegation, use any of the other cutting types to create an exact clone of the Mother Plant.

Conclusion
Wrapping Up
___________________________
There are many different ways to propagate your Houseplants.
Some take more time and materials, and some are as simple as they come.
It is important to experiment with each and find what works best for each plant and what works best for you and your preferences.
Still, the best part is that you can always make new plants! And who doesn’t want that?
For more Basic Tips:
Head back to my General Care Page!